
The Complete Arknights Endfield Character Guide (Best Operators Inside)
Introduction
Arknights Endfield is not a character collector in the usual sense. It is a system-driven RPG where characters only reach their full value when they are placed inside the right structure. Teams matter. Roles matter. Timing matters.
That changes how you look at characters.
Instead of asking who is strongest, the better question is who fits your current progression, your base setup, and your combat rhythm. Some operators feel average early on, then become core pieces later. Others look powerful at first but fall off once systems start scaling.
This guide focuses on the Arknights Endfield characters that define early and mid-game structure. Not just what they do, but how they behave in real scenarios. Where they succeed. Where they struggle. And how much investment they actually deserve.
The goal is simple. Help you avoid wasting time and resources on the wrong decisions.
Laevatain – Controlled damage with long-term scaling
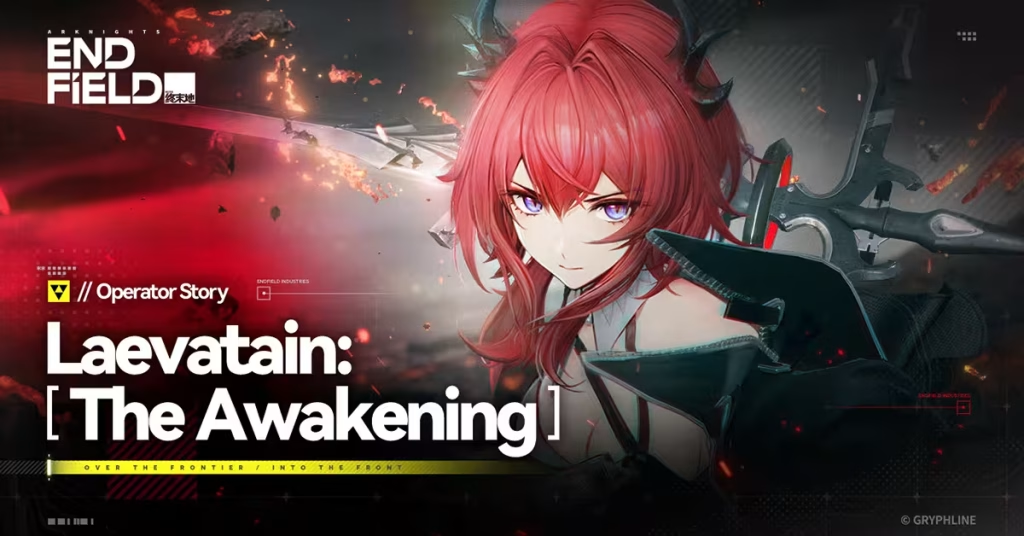
Laevatain is one of those characters that does not immediately impress. She is not flashy. She does not carry early fights on raw output. But once systems start layering together, she becomes one of the most stable damage sources you can build around.
Her design leans into controlled damage rather than burst. She rewards players who manage timing instead of chasing quick kills.
If you want the detailed breakdown, the Full Laevatain build and skill breakdown covers exact usage and scaling in depth.
Role and playstyle
Laevatain fits into sustained DPS roles with a strong emphasis on uptime.
She is not built for quick clears. She is built for consistency. That matters more than it seems, especially in longer encounters where burst damage loses value.
Her gameplay loop is simple on the surface:
- Maintain pressure
- Avoid overcommitting
- Let her scaling do the work
But execution matters. If you rush her rotations or waste her windows, she feels weak.
Strengths
- Stable damage across long fights
- Reliable performance in structured team setups
- Strong synergy with support and energy-based systems
She performs best in teams that give her space to operate rather than forcing constant switching.
Weaknesses
- Slow early impact
- Requires proper team support
- Less effective in short encounters
If you are still in early progression, she may feel underwhelming. That is expected.
Where she actually shines
Laevatain becomes valuable once fights start lasting longer than a few rotations.
Boss encounters and resource-heavy missions are where she stabilizes your output. Instead of spiking and dropping, she keeps pressure consistent.
That consistency reduces risk. And in Endfield, reducing risk often matters more than increasing damage.
Investment priority
Medium early. High later.
If your account is still building its core systems, she is not your first priority. But once your base and team structure are stable, she becomes a reliable anchor.
Real takeaway
Laevatain is not a carry in the traditional sense. She is a stabilizer.
Players who understand pacing will get far more value from her than players chasing immediate impact.
Gilberta – Tactical support that defines team flow

Gilberta is one of the first characters that teaches you how Endfield really works.
She does not carry fights. She does not deal top damage. But once she is in your team, everything becomes smoother. Rotations feel cleaner. Energy management improves. Mistakes become less punishing.
That is the kind of value that does not show on paper but changes how you play.
For a deeper look at her mechanics and optimization, the Full Gilberta support build and team synergy guide breaks down exact rotations and usage.
Role and playstyle
Gilberta is a support built around control and stability.
She enhances team flow rather than forcing impact. That means her value depends on how well you use the rest of your team.
Her core loop is about timing:
- Activate buffs before damage windows
- Support transitions between operators
- Maintain uptime without overcommitting
If you play her passively, she feels weak. If you play her intentionally, she becomes essential.
Strengths
- Improves team consistency across all content
- Reduces downtime between skill rotations
- Enables smoother energy and cooldown management
She is especially valuable in teams that rely on coordinated bursts or sustained rotations.
Weaknesses
- Low direct damage contribution
- Requires awareness of team timing
- Less impactful in poorly structured teams
If your team lacks direction, Gilberta will not fix it. She amplifies good setups, not bad ones.
Where she actually shines
Gilberta becomes critical in mid-game and beyond.
Once fights require planning rather than raw output, her ability to stabilize your team starts to matter. Boss encounters and extended missions benefit the most from her presence.
She also pairs well with characters like Laevatain, where sustained output needs consistent support.
Investment priority
High for structured teams. Medium for casual progression.
If you are building toward long-term efficiency, she is worth investing in early. If you are still experimenting, you can delay her upgrades slightly.
Real takeaway
Gilberta is not about power. She is about control.
Players who understand timing and rotation will get massive value from her. Players who rely on brute force will not feel her impact.
She is the kind of operator that quietly upgrades your entire account.
Ardelia – Burst damage with execution pressure

Ardelia is the opposite of Laevatain.
Where Laevatain builds pressure slowly, Ardelia delivers impact in short windows. She is built for burst damage, but that comes with a cost. Timing matters more. Mistakes are punished harder. And if you miss your window, her value drops fast.
She is one of the first characters that forces you to think about execution instead of just rotation.
For a full breakdown of her timing windows and optimal builds, the Full Ardelia burst DPS build and combo guide goes deeper into how to use her effectively.
Role and playstyle
Ardelia is a burst DPS focused on short, high-impact windows.
Her gameplay loop is not complicated, but it is strict:
- Build resources
- Wait for the right moment
- Commit fully during her burst window
You cannot play her casually. If you activate her skills at the wrong time, you lose most of her value.
She rewards precision.
Strengths
- High burst damage in controlled windows
- Strong performance against elite enemies and bosses
- Works well with support setups that enable timing
She is one of the few characters that can quickly shift momentum in a fight when used correctly.
Weaknesses
- Low damage outside burst windows
- Requires setup and support
- Punishes poor timing
If you rush her or use her without planning, she feels inconsistent.
Where she actually shines
Ardelia excels in situations where timing matters more than duration.
Boss phases, shield breaks, and priority targets are where she delivers value. She is not meant to handle sustained combat alone.
She pairs especially well with support characters like Gilberta, who help align her burst with team rotations.
Investment priority
Medium early. High if you build around her.
If your team supports burst playstyles, she becomes a strong investment. If not, she can feel difficult to justify compared to more stable options.
Real takeaway
Ardelia is not forgiving, but she is rewarding.
Players who learn her timing can end fights faster and more cleanly. Players who ignore her setup will struggle to see her potential.
She is a skill check more than a power spike.
Perlica – Flexible support that adapts to your team

Perlica sits in a different space compared to Gilberta.
Where Gilberta is structured and timing-focused, Perlica is more flexible. She adapts to what your team needs rather than forcing a specific rhythm. That makes her easier to use early on, but also slightly less impactful at high optimization levels.
She is one of the safest picks for players still figuring out team structure.
If you want the full breakdown of her builds and positioning, the Full Perlica support build and utility guide covers how to get consistent value from her.
Role and playstyle
Perlica is a generalist support.
She provides utility that smooths gameplay without requiring strict execution. That makes her accessible but also less specialized.
Her loop is simple:
- Support active operator
- Maintain team stability
- Adjust based on current needs
You do not need perfect timing to make her work. That is her biggest strength.
Strengths
- Easy to use and reliable
- Works in almost any team setup
- Helps stabilize early and mid-game progression
She is especially valuable when your roster is still incomplete.
Weaknesses
- Lower ceiling compared to specialized supports
- Less impactful in optimized late-game teams
- Does not define team strategy
As your account grows, you may replace her with more focused options.
Where she actually shines
Perlica is strongest during early progression.
When your team lacks synergy and your upgrades are still uneven, her flexibility helps cover weaknesses. She reduces friction and keeps your runs consistent.
She is also useful in mixed-content scenarios where you cannot fully optimize your team.
Investment priority
Medium early. Low to medium later.
She is worth investing in if you need stability. But she is not a long-term core piece for most optimized builds.
Real takeaway
Perlica is a bridge character.
She helps you transition from early-game chaos to structured gameplay. Once you reach that point, her role becomes less critical.
Players who understand this will use her effectively without overinvesting.
Chen Qianyu – Hybrid control and damage with high ceiling
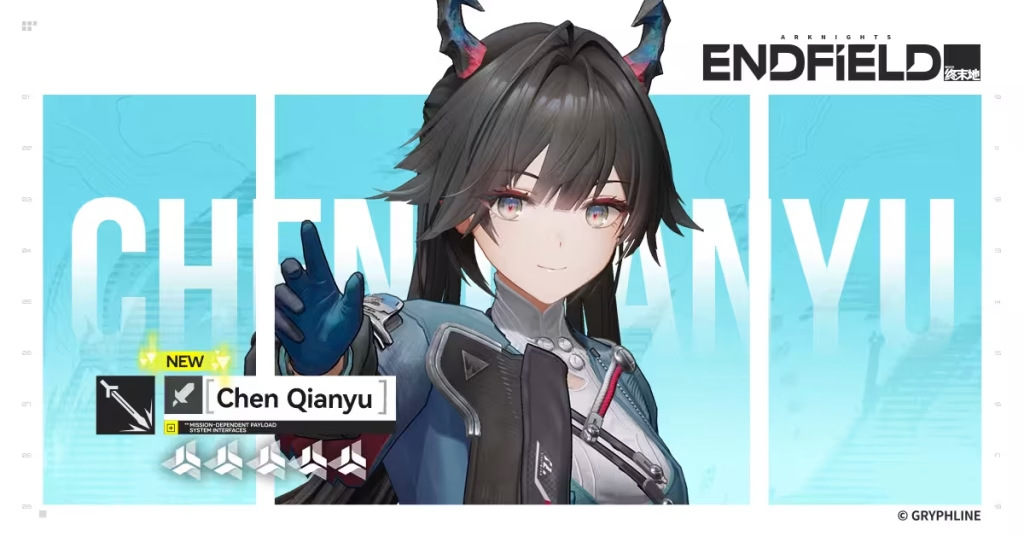
Chen Qianyu is where things start getting more technical.
She is not a pure DPS and not a pure support. She sits in a hybrid space where control, positioning, and damage all intersect. That makes her one of the most interesting characters to play, but also one of the easiest to misuse.
She does not carry through raw stats. She carries through decision-making.
For players who want to understand her full kit and optimization path, the Full Chen Qianyu hybrid build and control guide explains how to unlock her potential.
Role and playstyle
Chen Qianyu is a hybrid operator focused on control and situational damage.
Her gameplay is reactive:
- Identify high-value targets
- Apply control or disruption
- Follow up with damage or team synergy
She rewards awareness more than mechanical execution. You need to read the fight, not just follow a rotation.
Strengths
- Strong control tools that influence enemy behavior
- Flexible role between support and damage
- High impact in complex encounters
She shines in situations where positioning and timing matter more than raw output.
Weaknesses
- Hard to use effectively without experience
- Inconsistent value in simple fights
- Requires understanding of enemy patterns
If you treat her like a standard DPS, she will feel weak.
Where she actually shines
Chen Qianyu becomes valuable in mid to late-game content where enemies have layered mechanics.
Crowd control, disruption, and selective targeting become more important as fights get more complex. That is where she starts to outperform simpler characters.
She also pairs well with burst units like Ardelia, helping create safe windows for damage.
Investment priority
Medium to high for experienced players. Low for beginners.
If you are still learning the game, she is not a priority. If you understand systems and want more control, she becomes a strong investment.
Real takeaway
Chen Qianyu is not about numbers. She is about influence.
Players who learn how to control fights will get far more value from her than players who focus only on damage.
She is a long-term investment in skill, not just progression.
Yvonne – Stable ranged damage with low execution cost
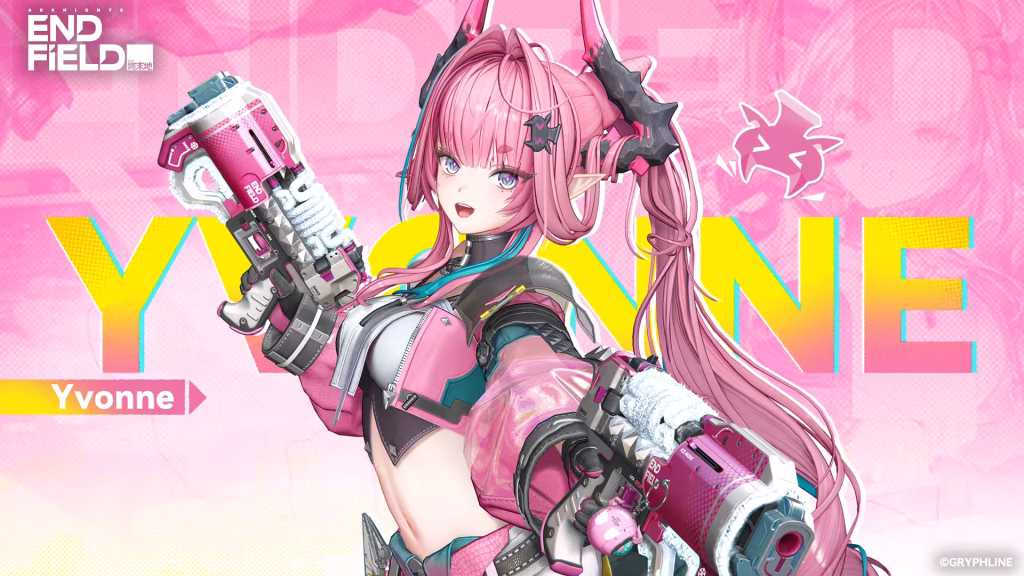
Yvonne is one of the most reliable characters you can pick up early and keep using without friction.
She does not demand complex setups. She does not require strict timing. She simply delivers consistent ranged damage with minimal effort. That makes her one of the most comfortable operators for players who want stability without sacrificing effectiveness.
She is not flashy, but she rarely disappoints.
For a deeper breakdown of her scaling and optimal builds, the Full Yvonne ranged DPS build and optimization guide goes into detail on how to maximize her value.
Role and playstyle
Yvonne is a ranged DPS focused on consistency and ease of use.
Her gameplay loop is straightforward:
- Maintain distance
- Apply steady damage
- Avoid unnecessary risk
She does not rely on tight windows or heavy setup. That makes her one of the easiest characters to integrate into any team.
Strengths
- Reliable damage in most situations
- Low execution requirement
- Strong performance in early and mid-game
She is especially useful when you need a dependable source of damage without restructuring your team.
Weaknesses
- Lower peak damage compared to burst units
- Limited impact in high-end optimized teams
- Less synergy-dependent
As your roster improves, she may be outscaled by more specialized DPS options.
Where she actually shines
Yvonne is strongest during progression.
Story missions, general content, and early boss fights all benefit from her stability. She reduces the need for perfect play and allows you to focus on learning other systems.
She is also a strong fallback option when your team composition is not fully optimized.
Investment priority
High early. Medium later.
She is one of the safest early investments. But long-term, you may shift resources toward more specialized characters.
Real takeaway
Yvonne is about reliability.
She gives you consistent results without demanding perfect execution. That makes her one of the best characters to stabilize your early experience.
Ember – Aggressive DPS with momentum-based scaling
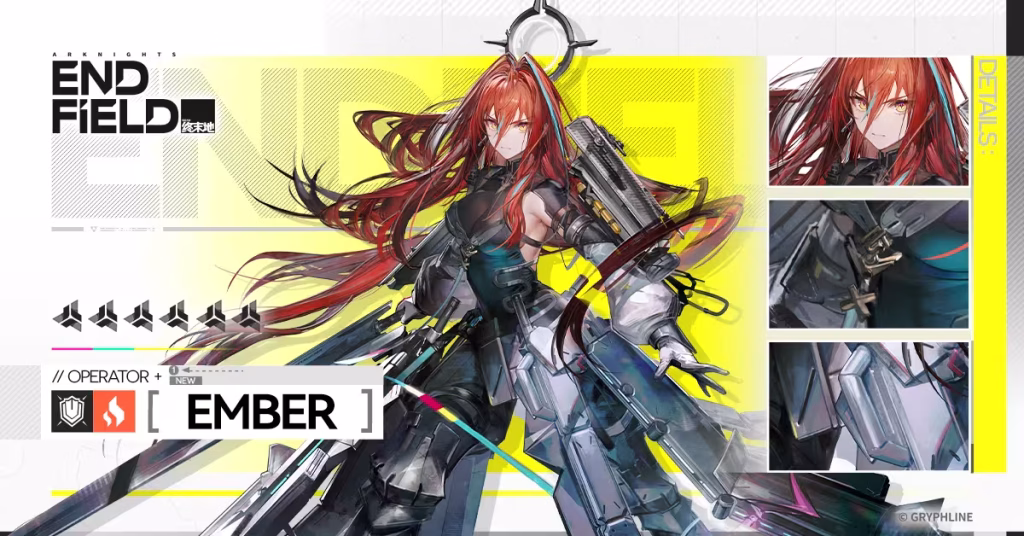
Ember is the first character in this list that pushes you toward a more aggressive playstyle.
Where Yvonne is stable and controlled, Ember thrives on momentum. The more you stay active and commit to pressure, the stronger she feels. But that also means mistakes hit harder. If you lose tempo, her performance drops quickly.
She rewards players who stay engaged and proactive.
For players looking to optimize her damage windows and rotations, the Full Ember DPS build and aggressive playstyle guide explains how to keep her performance consistent.
Role and playstyle
Ember is a high-tempo DPS built around continuous engagement.
Her loop looks simple:
- Stay active in combat
- Chain abilities efficiently
- Maintain pressure without interruption
But execution is not forgiving. If you disengage or mistime her skills, you lose momentum and her output suffers.
She is designed for players who like to stay in control of the fight.
Strengths
- Strong damage when momentum is maintained
- High impact in fast-paced encounters
- Works well with aggressive team setups
She can quickly clear waves and apply pressure in dynamic fights.
Weaknesses
- Performance drops if momentum is lost
- Requires active playstyle
- Less forgiving than stable DPS options
If you prefer slower, more controlled gameplay, she may feel stressful to use.
Where she actually shines
Ember excels in encounters that reward constant pressure.
Wave-based fights and fast enemy cycles are where she performs best. She can keep damage flowing without relying on long cooldowns or setup phases.
She also pairs well with support characters that help maintain tempo, allowing her to stay active longer.
Investment priority
Medium to high depending on playstyle.
If you enjoy aggressive gameplay, she is worth investing in. If you prefer consistency over intensity, there are safer options.
Real takeaway
Ember is about momentum.
She feels powerful when you stay in control and punishing when you don’t. Players who enjoy active, fast-paced combat will get the most out of her.
Pogranichnik – Defensive anchor with battlefield control
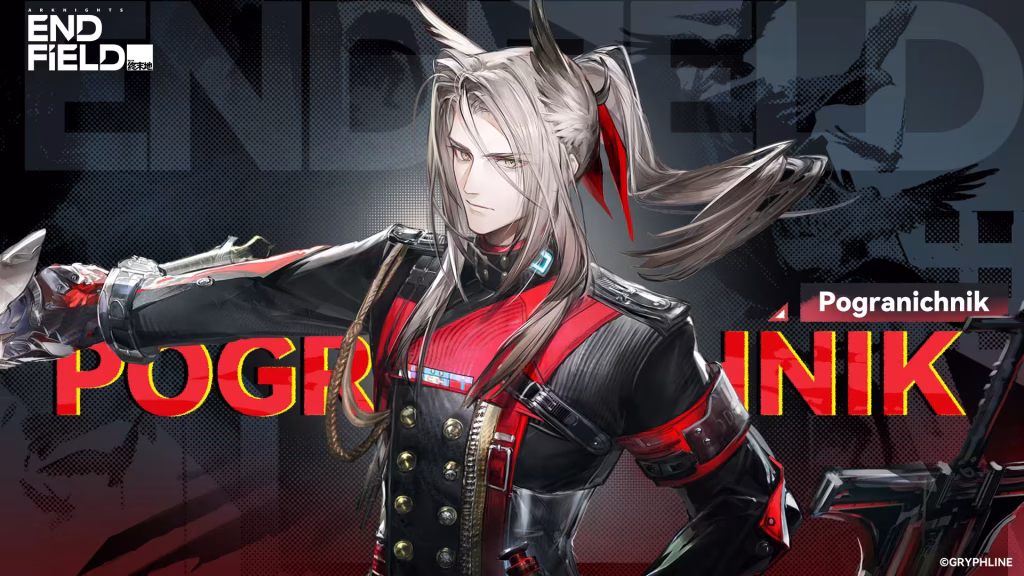
Pogranichnik is not built to deal damage. He is built to hold the line.
In a game where positioning and pressure matter, having a character that can absorb impact and stabilize fights changes everything. He is not flashy, but he creates space. And in Endfield, space is often more valuable than damage.
For a deeper breakdown of his defensive mechanics and positioning, the Full Pogranichnik tank build and control guide explains how to use him effectively in structured teams.
Role and playstyle
Pogranichnik is a defensive anchor focused on control and survivability.
His gameplay loop is simple but important:
- Hold key positions
- Absorb incoming pressure
- Create safe windows for your team
He is not meant to rotate constantly. He works best when placed intentionally and used as a stable point in your team structure.
Strengths
- High durability in sustained fights
- Strong positional control
- Reduces pressure on fragile DPS units
He allows your team to function more safely, especially in chaotic encounters.
Weaknesses
- Low damage output
- Limited impact in fast, low-risk fights
- Requires proper positioning to be effective
If fights are short or simple, his value is less noticeable.
Where he actually shines
Pogranichnik becomes essential in high-pressure encounters.
Boss fights, defensive objectives, and sustained missions all benefit from his presence. He gives your team breathing room, which allows more complex strategies to work.
He pairs well with characters like Yvonne or Laevatain, who benefit from stable positioning and protection.

Investment priority
Medium early. High for structured teams.
If you are struggling with survivability, he becomes a strong priority. If your team already avoids damage effectively, you can delay investment.
Real takeaway
Pogranichnik is not about damage. He is about control.
Players who understand positioning will get strong value from him. Players who rely only on offense may overlook how much stability he brings.
Last Rite – Conditional burst with high risk and high payoff
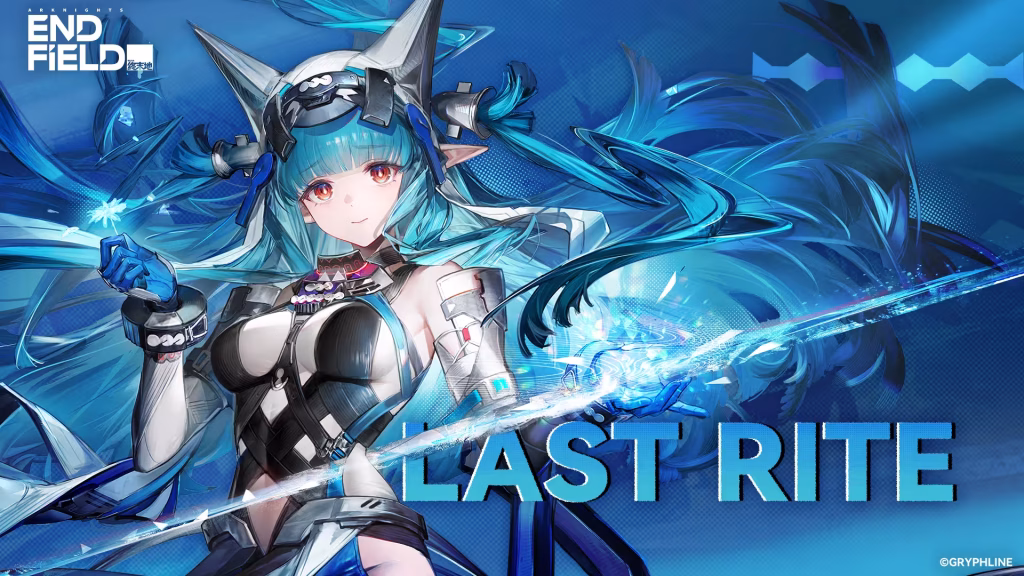
Last Rite is one of the most polarizing Arknights Endfield characters.
On paper, her damage potential looks strong. In practice, it depends heavily on setup and execution. When her conditions are met, she can delete priority targets or swing entire phases. When they are not, her output drops sharply.
She is not a safe pick. She is a calculated one.
For a full breakdown of her conditions and optimal setups, the Full Last Rite burst build and conditional damage guide explains how to use her without losing efficiency.
Role and playstyle
Last Rite is a conditional burst DPS built around timing and setup.
Her effectiveness depends on aligning several factors:
Enemy vulnerability windows
Skill timing and cooldown alignment
Team support that enables her burst safely
Her loop is not continuous. It is structured:
Wait for the correct window
Commit fully to burst
Disengage and reset for the next cycle
This creates a stop-start rhythm that rewards patience and awareness.
Strengths
Extremely high burst damage in optimal conditions
Strong against priority targets and boss phases
Can shift fight momentum instantly when executed correctly
She excels at ending phases rather than sustaining damage.
Weaknesses
Highly inconsistent without proper setup
Requires planning and team coordination
Punishes mistimed or forced activations
If used reactively instead of deliberately, her value drops significantly.
Where she actually shines
Last Rite performs best in controlled encounters.
Boss fights and predictable enemy patterns allow her to align her burst windows reliably. In these scenarios, she becomes a powerful tool for phase control.
She benefits most from teams that can create safe openings or stabilize fights long enough for her to execute her burst.
Investment priority
Medium to high for experienced players. Low for beginners.
She is not a priority early on. But in structured teams, she becomes a strong specialized option.
Real takeaway
Last Rite is about precision and timing.
She rewards players who understand encounter flow and plan around it. Players who rely on reactive play will struggle to extract consistent value from her.
Lifeng – Energy management and sustained team support
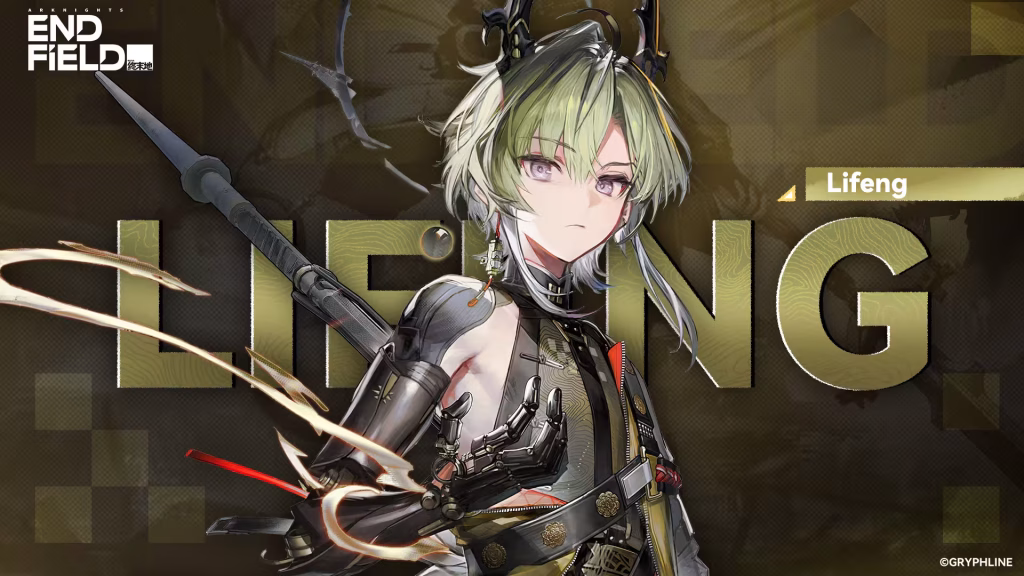
Lifeng is one of those characters that quietly improves overall team performance without drawing attention to himself.
He does not carry fights or burst down targets. Instead, he stabilizes your team’s internal rhythm. Energy becomes more available, skill rotations feel smoother, and downtime between abilities is reduced.
He is not flashy, but he is highly efficient.
For a deeper look at how to optimize his uptime and team impact, the Full Lifeng energy support build and rotation guide explains how to extract consistent value from him.
Role and playstyle
Energy-focused support and rotation enabler
Lifeng is a support built around energy management and sustained team efficiency.
His role is to ensure that your team can use abilities more consistently by improving resource flow and reducing gaps between skill usage.
Core gameplay loop
His loop is subtle but impactful:
- Maintain steady energy/resource flow
- Support continuous skill rotations
- Reduce downtime between key abilities
He operates in the background, enabling stronger execution rather than acting as a direct damage source.
Strengths
Improves team-wide efficiency
Lifeng increases how often your team can act, which indirectly boosts total damage and control.
Reduces ability downtime
More frequent skill usage means better pressure, smoother rotations, and fewer dead moments in combat.
Supports multiple playstyles
He works especially well in teams that rely on:
- Frequent skill usage
- Burst windows that require setup
- Sustained pressure over time
Weaknesses
Low direct impact
He does not deal meaningful damage or provide immediate visible results.
Value depends on team usage
If your team is not built around skill rotations or resource usage, his contribution becomes less noticeable.
Limited early-game impact
In early content where fights are short, energy management is less important, making him feel underwhelming.
Where he actually shines
Long encounters and rotation-heavy teams
Lifeng becomes significantly more valuable in extended fights.
As encounters last longer, resource management becomes critical. Teams without support begin to slow down. Lifeng prevents this drop in tempo.
He performs best in structured teams that rely on:
- Consistent ability usage
- Coordinated burst windows
- Sustained pressure over time
Investment priority
Medium early, high in optimized teams
He is not essential in the early game.
However, once your team begins to rely on structured rotations and ability timing, his value increases significantly and becomes worth the investment.
Real takeaway
Lifeng is about efficiency and tempo control.
He does not directly increase your team’s power. He increases how often your team can act at full strength.
In Arknights Endfield, teams that maintain consistent pressure and smooth rotations often outperform teams that rely only on raw damage.
Fluorite – Ranged utility with control-focused damage
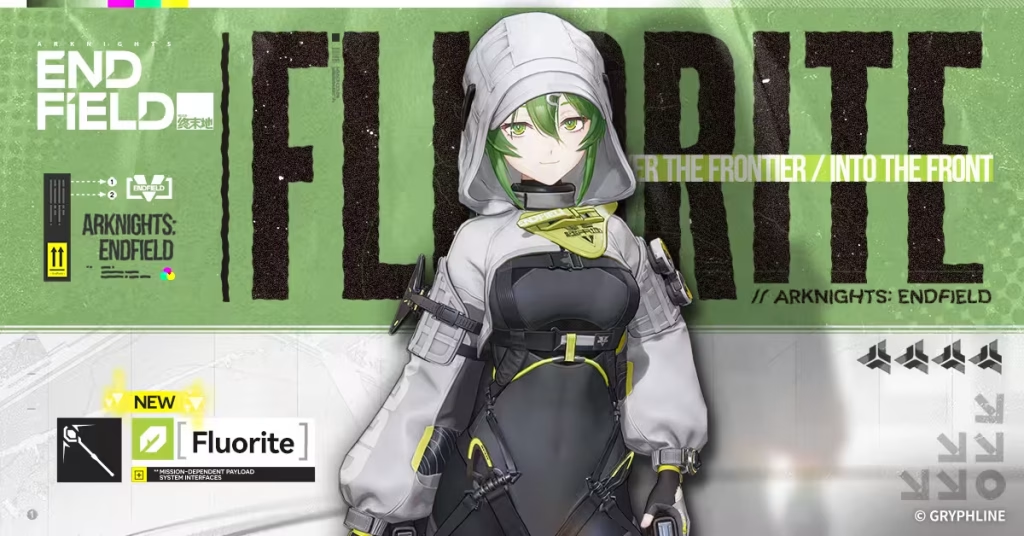
Fluorite operates in the space between damage and battlefield control, leaning more toward utility than raw output.
She is not designed to carry fights through numbers alone. Instead, she influences how encounters unfold. By slowing enemies, controlling positioning, and applying consistent pressure from range, she helps stabilize chaotic situations.
She rewards players who think in terms of positioning and control rather than pure damage rotations.
For a full breakdown of her control tools and optimal usage, the Full Fluorite control build and ranged utility guide explains how to maximize her impact.
Role and playstyle
Ranged control DPS with zoning influence
Fluorite functions as a ranged DPS with a strong emphasis on control and spatial influence.
Rather than overwhelming enemies with burst damage, she manipulates how they move and engage.
Core gameplay loop
Her loop is based on control and pressure:
- Apply consistent ranged pressure
- Disrupt enemy movement and positioning
- Create safer zones for allies
She does not force outcomes directly. She shapes the conditions that make success easier.
Strengths
Strong ranged control tools
Fluorite can slow, disrupt, or limit enemy movement, making her highly effective in managing battlefield flow.
Safe and consistent positioning
Operating from range allows her to maintain pressure without exposing herself to unnecessary risk.
Effective in complex encounters
She performs well in situations with multiple threats or layered mechanics, where control is more valuable than raw damage.
Weaknesses
Lower raw damage output
Compared to dedicated DPS units, her damage ceiling is lower, especially in short encounters.
Requires positional awareness
Her effectiveness depends heavily on where she is placed and how enemies move around her.
Limited value in simple fights
In fast or low-pressure encounters, her control tools are less impactful, making her feel weaker.
Where she actually shines
Multi-enemy and control-heavy encounters
Fluorite excels in scenarios where enemy flow needs to be managed rather than rushed.
She is especially effective when:
- Multiple enemies pressure different zones
- Positioning determines survival
- Control creates safer engagement windows
Synergy with defensive and structure-based teams
She pairs well with defensive anchors like Pogranichnik, creating controlled areas where enemies are slowed, grouped, or redirected.
This allows DPS units to operate more efficiently within stable conditions.
Investment priority
Medium, scaling with content complexity
Fluorite is not essential in early progression.
However, as encounters become more complex and require control rather than brute force, her value increases significantly.
Real takeaway
Fluorite is about control through positioning.
She does not dominate fights through damage. She controls how fights develop.
Players who understand space, timing, and enemy flow will unlock her full value. Those focused only on damage numbers may underestimate her impact.
Avywenna – Sustain healer with defensive scaling
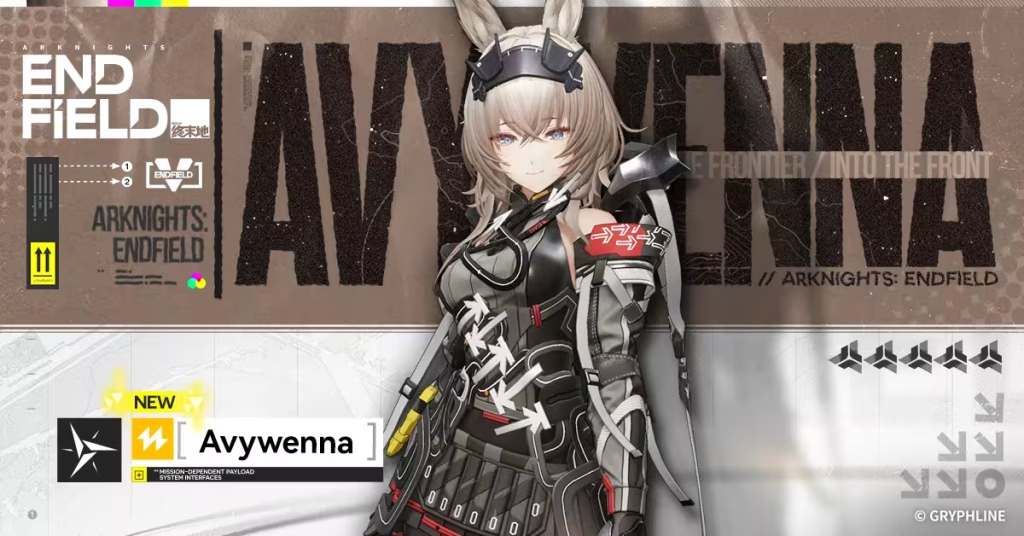
Avywenna is one of the few operators that directly addresses a core challenge in Arknights Endfield: maintaining stability under sustained pressure.
She is not just a healer. She is a stabilizer that allows your team to recover from mistakes, absorb prolonged damage, and maintain tempo in difficult encounters.
When damage starts stacking and fights become harder to control, she slows down the collapse and restores structure to your team.
She is not always required, but in content where sustain matters, her role is difficult to replace cleanly.
For a deeper breakdown of her healing scaling and team integration, the Full Avywenna healing build and sustain guide explains how to use her efficiently without overcommitting resources.
Role and playstyle
Sustain support with defensive scaling
Avywenna functions as a sustain-focused support who reinforces team durability over time rather than influencing burst outcomes.
Reactive and stabilizing loop
Her core loop revolves around:
- Monitoring team health under pressure
- Stabilizing during damage spikes
- Maintaining baseline survivability across longer fights
While primarily reactive, she also enables proactive play by allowing teams to take calculated risks without immediate collapse.
Strengths
Strong sustained healing over time
She provides reliable recovery that keeps teams functional during extended encounters.
Reduces punishment for mistakes
Avywenna softens the impact of misplays, making fights more forgiving and recoverable.
Enables aggressive compositions
By maintaining survivability, she allows fragile or high-risk DPS units to operate more freely and maintain pressure.
Weaknesses
No direct offensive impact
She does not contribute meaningful damage directly, which can make her feel less impactful in fast-paced fights.
Lower value in short encounters
In quick missions where damage is minimal, her sustain is often unnecessary.
Diminishing returns in optimized play
Highly optimized teams that avoid damage consistently may rely less on her healing.
Where she actually shines
Extended and high-pressure encounters
Avywenna excels in:
- Boss fights with sustained damage
- Endurance missions
- Situations where mistakes accumulate over time
Her presence allows teams to maintain structure instead of collapsing under pressure.
Synergy with high-risk damage dealers
She pairs particularly well with aggressive units like Ember, where sustained healing allows continuous pressure without sacrificing stability.
Investment priority
Medium early, situationally high
She becomes a priority if survivability is a recurring issue.
If your team already avoids damage efficiently, her investment can be delayed in favor of offensive upgrades.
Real takeaway
Avywenna is about stability and tempo preservation.
She does not increase damage directly, but she maintains your ability to deal damage over time.
Players who understand the value of sustain as a system—not just healing—will get the most from her. Others may underestimate her until content becomes punishing.
Arc Light – Precision DPS with positional advantage
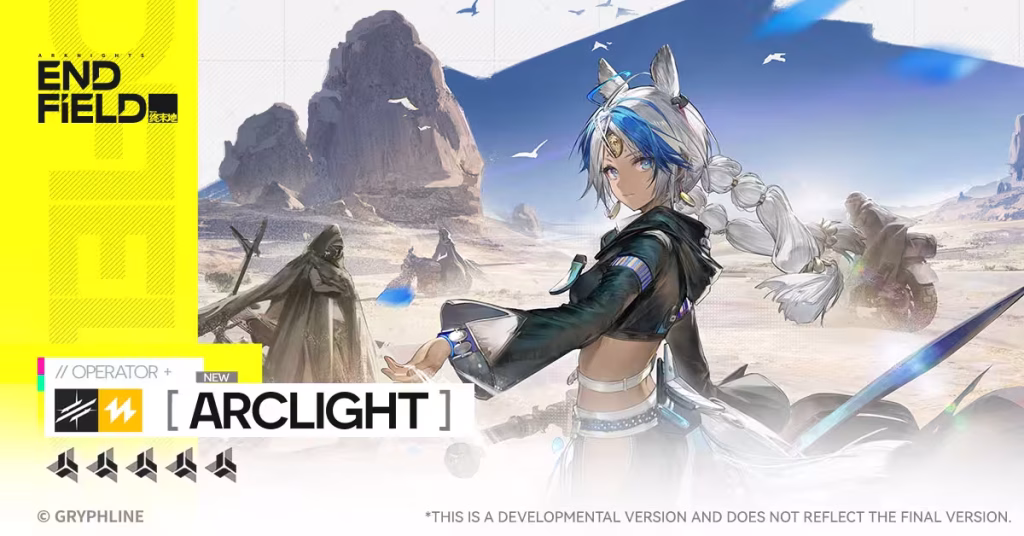
Arc Light is a precision-based damage dealer built around positioning, target selection, and efficient output.
He is not designed for chaotic fights or reactive play. Instead, he rewards players who understand spacing, control enemy movement, and maintain clean damage windows.
When used correctly, his damage feels efficient and controlled rather than explosive or wasteful.
For a deeper breakdown of his positioning mechanics and scaling, the Full Arc Light precision DPS build and positioning guide explains how to maximize his output without losing consistency.
Role and playstyle
Precision DPS with positional dependency
Arc Light functions as a positioning-reliant DPS who performs best when he can maintain optimal distance and clear targeting conditions.
Controlled damage loop
His gameplay loop is structured:
- Position for optimal line-of-sight
- Identify priority targets
- Apply sustained, accurate damage without overcommitting
He is not about speed or burst. He is about minimizing wasted actions and maximizing efficiency.
Strengths
High efficiency damage output
When properly positioned, Arc Light delivers consistent damage with minimal resource waste.
Strong against priority and isolated targets
He excels at removing key enemies without disrupting overall team structure.
Fits well in controlled team compositions
He benefits greatly from structured setups where enemy movement is predictable.
Weaknesses
Heavy reliance on positioning
Poor placement significantly reduces his effectiveness and can interrupt his damage flow.
Struggles in chaotic encounters
In fights with multiple threats and unstable positioning, maintaining optimal output becomes difficult.
Dependent on team control
Without teammates that stabilize the battlefield, his performance becomes inconsistent.
Where he actually shines
Structured and controlled encounters
Arc Light performs best in fights where:
- Enemy positioning can be controlled
- Targets can be isolated
- Sightlines remain clear
Elite enemy encounters and priority-target scenarios are where he delivers the most value.
Synergy with control-focused units
He pairs exceptionally well with operators like Fluorite or Chen Qianyu, who help stabilize enemy movement and create predictable damage windows.
Investment priority
Medium to high for positioning-aware players
He becomes a strong investment if you understand spacing and battlefield control.
If not, his performance may feel inconsistent and harder to justify.
Real takeaway
Arc Light is about precision and efficiency.
He does not overwhelm fights with raw damage. He optimizes them.
Players who understand positioning as a core mechanic—not just movement—will unlock his full value. Others will struggle to maintain his consistency.
ALESH – Frontline bruiser with pressure-based control
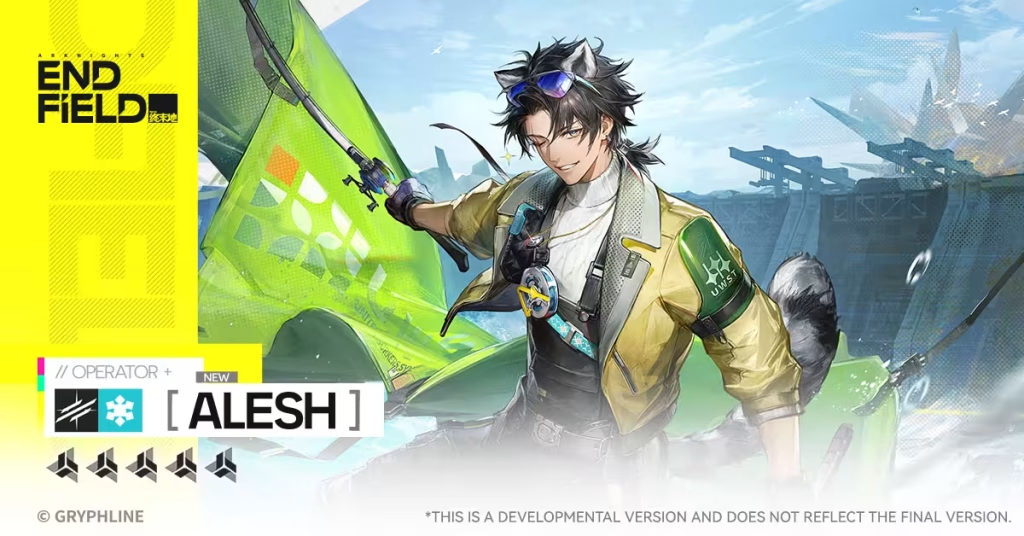
ALESH operates in the space between a tank and a damage dealer, but his true value comes from how he controls tempo rather than raw stats.
He is less durable than dedicated anchors like Pogranichnik and less explosive than pure DPS units, but he compensates by actively applying pressure, disrupting enemy positioning, and forcing engagements on his terms.
He is not built to absorb fights. He is built to shape them.
For a deeper breakdown of his hybrid role and optimal builds, the Full ALESH bruiser build and frontline pressure guide explains how to use him effectively.
Role and playstyle
Frontline bruiser with tempo control
ALESH functions as a pressure-based frontline unit that blends survivability with active engagement.
Active engagement loop
His gameplay loop is proactive:
- Engage enemies to initiate pressure
- Apply sustained damage while disrupting positioning
- Control space by forcing enemies to react
He is not static. His value comes from movement, presence, and interaction.
Strengths
Applies continuous pressure
ALESH maintains combat tempo by staying engaged and forcing enemies out of stable positions.
Hybrid durability and damage
He can survive extended fights while still contributing meaningful damage.
Influences enemy positioning
Through close-range pressure and presence, he can disrupt formations and create openings for allies.
Weaknesses
Lower durability than dedicated tanks
He cannot fully replace a defensive anchor in high-pressure encounters.
Lower burst compared to pure DPS
His damage is consistent but not explosive.
Requires active decision-making
Passive play reduces his effectiveness significantly.
Where he actually shines
Mid-intensity and sustained engagements
ALESH performs best in encounters where:
- Enemies need to be actively controlled
- Positioning is dynamic
- Pressure must be maintained over time
He struggles in purely defensive scenarios or in fights that demand pure burst damage.
Synergy with ranged and precision DPS
He pairs well with operators like Yvonne or Arc Light, creating space and forcing enemy movement while they deal damage safely.
Investment priority
Medium for flexible team setups
He is not mandatory, but he becomes valuable in teams that rely on tempo control and active engagement.
Real takeaway
ALESH is about pressure and tempo.
He does not stabilize fights like a tank, and he does not finish them like a DPS. He controls how they unfold.
Players who understand pacing and positioning will extract strong value from him. Players who prefer passive or static setups will not fully benefit from his design.
Tang Tang – Utility support with burst window amplification
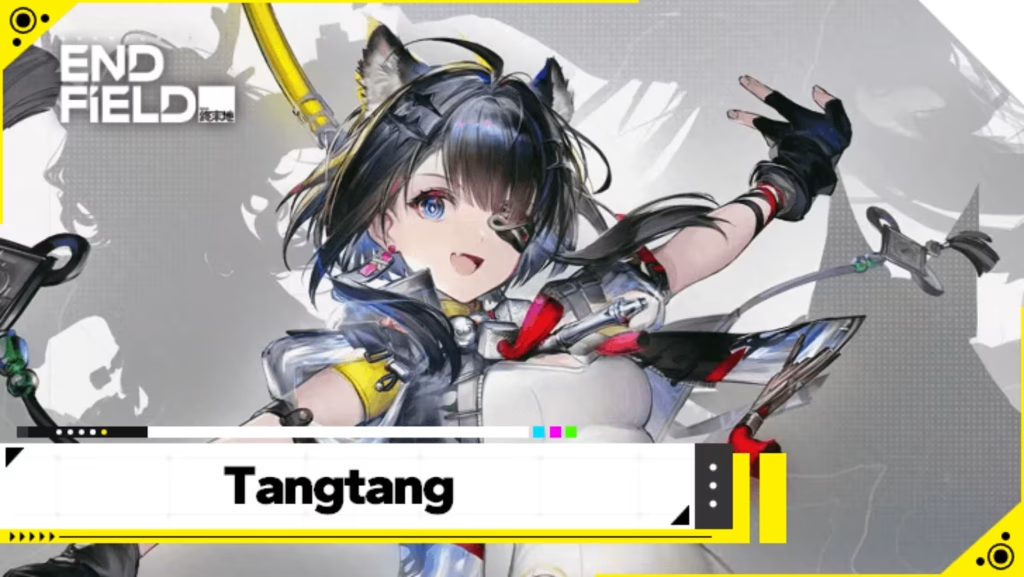
Tang Tang is one of those Arknights Endfield characters that feels underwhelming until you understand timing.
She does not provide constant value like Lifeng, nor stable buffs like Gilberta. Instead, she amplifies short, high-impact moments. When used correctly, she can significantly increase team output during critical windows. When used poorly, she feels almost invisible.
She is not a general support. She is a timing-dependent amplifier.
For a deeper breakdown of her timing windows and buff interactions, the Full Tang Tang utility build and situational support guide explains how to use her without wasting her potential.
Role and playstyle
Burst window support with timing dependency
Tang Tang functions as a situational support designed to enhance short damage windows rather than sustain performance over time.
Timing-based gameplay loop
Her loop revolves around precision:
- Identify high-value damage windows
- Activate buffs during peak team output
- Support burst rotations rather than continuous play
She does not operate continuously. Her value comes from when she acts, not how often.
Strengths
High impact during burst windows
When aligned correctly, her buffs significantly increase damage output in short phases.
Strong synergy with burst-focused teams
She excels in compositions built around short, explosive rotations.
Effective in structured encounters
Predictable fights with clear phases allow her to reach maximum value.
Weaknesses
Low baseline impact
Outside of optimal timing, her contribution is minimal.
Requires strong timing awareness
Incorrect usage reduces her effectiveness significantly.
Weak in sustained or chaotic fights
In unstructured encounters, her value drops due to lack of consistent uptime.
Where she actually shines
Phase-based and boss encounters
Tang Tang performs best in fights where:
- Damage windows are predictable
- Burst phases can be planned
- Team rotations are coordinated
She struggles in continuous pressure fights where no clear burst timing exists.
Synergy with burst DPS
She pairs exceptionally well with characters like Last Rite or Ardelia, amplifying their peak damage windows rather than supporting their downtime.
Investment priority
Low early. Medium in optimized teams
She is not necessary for progression, but becomes valuable in teams built around timing and burst optimization.
Real takeaway
Tang Tang is about timing, not consistency.
She does not increase your average damage. She increases your peak damage.
Players who understand combat windows and rotations will unlock her full value. Players who use her without planning will see very little impact.